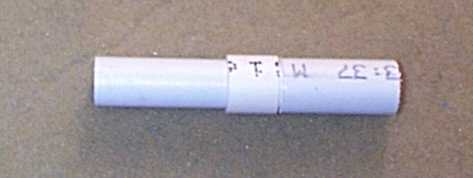
 All tubes laid out, and also assembled, with a ruler to show the scale.
An Australian Clark Cable Water Rocket Launcher. | Home Page |
The key component is the o-ring seat, ably made by a cub scout on his father's lathe by turning down 20mm electrical conduit to an OD of 18.3mm.
All tubes laid out, and also assembled, with a ruler to show the scale.
 o-ring seat with first seal ring fitted (not glued)
This o-ring seat tube is critical because it adapts between the 16mm electrical conduit which it fits snugly outside, and the 21.5mm OD PVC water pipe that it fits snugly inside. The 21.5 mm "seal rings" are glued to form an o-ring slot.
 o-ring seat with both seal rings
 Same thing with the o-ring added
 The core tube, primed and glued to the compression fitting.
This compression fitting is designed for its 21.5mm OD, but one Australian manufacturer makes one with a suitable tapering ID that fits the 16mm electrical core tube perfectly. Make sure you ram the tube well down inside and use lots of PVC glue!
 Same, with 20mm electrical strengthening tube added
This part's easy to get wrong. The two tubes fit quite snugly, so you have to cover the core tube well with glue and quickly force the strengthening tube all the way down to the compression fitting.
 The core tube with the o-ring assembly added.
The six cable ties are fastened with three others - one outside, one inside, and another outside. The whole thing is impregnated with five-minute epoxy to secure it - this is important or they'll slip at high pressure (the worst time :-). The picture also shows the 40mm retaining ring which holds the ties over the flange of the bottle, and the release string.
The air attachment screws on to the compression fitting, and has a small watering-system hose attached (use 5 metres of the flexible stuff, not the hard stuff, if you can get it), and a car tyre valve on the end. The valve has had all the rubber cut, sanded and/or burnt off.
 A pulley for the release string.
I actually don't recommend that the pulley be attached to the launcher base. If it's attached instead to a large tent peg in the ground next to the launcher, then the yank on the string doesn't disturb the launch direction significantly. Remember that most water rockets are very unstable at the instant they leave the launcher.
 Closeup of the cable ties.
  The completed launcher.
 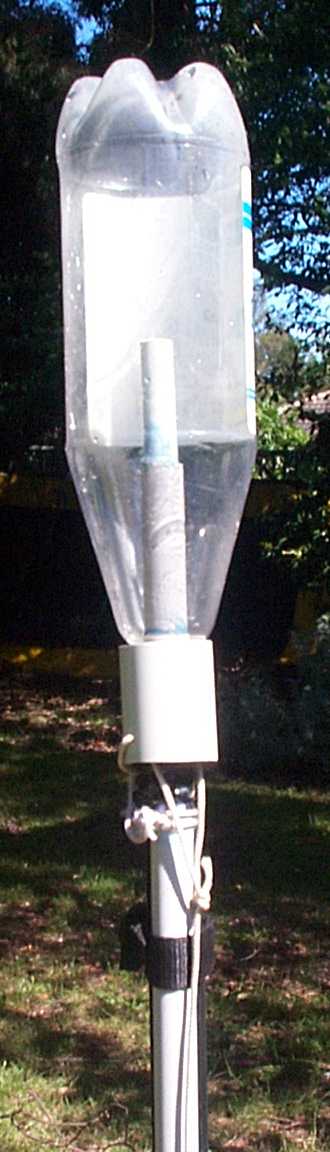 Ready to launch
  Another angle